Prerequisites: You’ll need an active Tuner account to follow this guide. Sign up here if you haven’t already.
Overview
Here’s what we’ll accomplish:Configure Your Agent
Define call outcomes, intents, and evaluations to customize how Tuner monitors your calls.
Step 1: Connect Your Agent
After signing into your Tuner account, go to your main dashboard. If you use Retell or Vapi, add your platform API key under Workspace Settings → API Keys & Integrations and click Save Changes before you create an agent. See Connecting to Retell or Connecting to Vapi for the full order of steps. In the sidebar, click the Select Agent dropdown, then Add New Agent.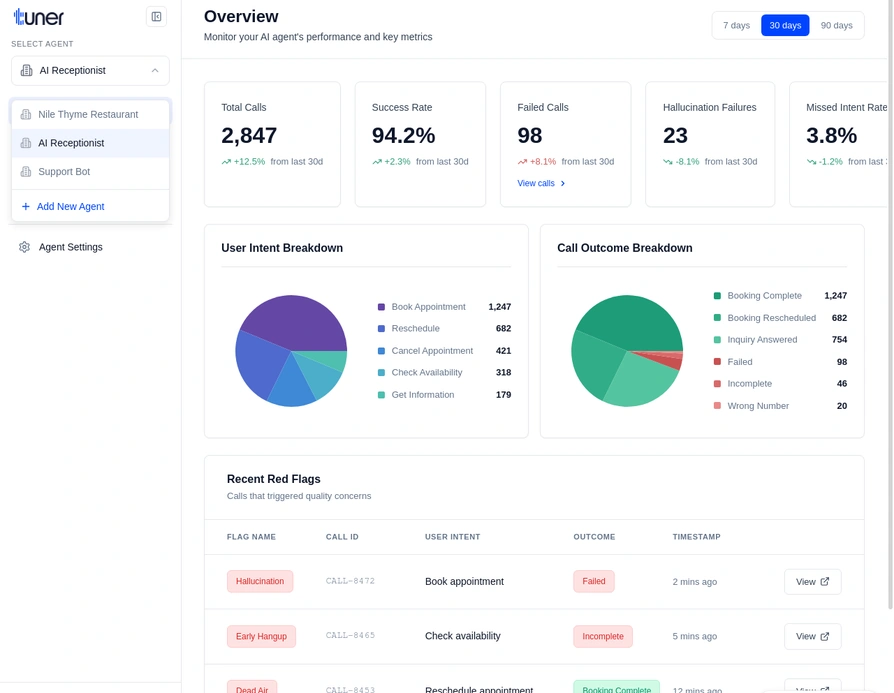
Create the agent
In the Create a New Agent modal, fill in the required fields:- Agent Name — A display name for this agent.
- Call Direction — Inbound or Outbound, depending on how the agent is used.
- Provider — Where your calls come from (for example retell, vapi, or API for custom integrations).
- Agent Remote ID — The ID used to link this agent to your voice platform.
- For Retell and Vapi, copy the agent ID from your provider’s dashboard.
- For custom API integrations, Tuner generates this automatically.
- Click Create agent.
Set up your agent (MCP or blank)
After the agent is created, you’ll be asked How do you want to configure this agent? Choose Configure via MCP (see Configure Your Agent Using Tuner MCP) or Start from blank, then click Continue. You can pick I’ll do this later if you prefer. Then open Agent Settings to add a system prompt, goals, and other details as needed.Example: E-commerce Support Bot system prompt
Example: E-commerce Support Bot system prompt
Step 2: Configure Your Agent
Once your agent is created, you’ll want to configure how Tuner monitors your calls. This step is optional for your first call, but setting it up early will give you richer insights. Navigate to Agent Settings by clicking on the gear icon next to your agent name. Here you can:- Define Call Outcomes: Specify what “Success” and “Failure” mean for your agent (e.g., “Appointment Booked” vs. “User Hung Up”).
- Set Up User Intents: Define the possible reasons users might call your agent.
- Create Custom Evaluations: Add specific checks to evaluate agent behavior on every call.
- Configure Alerts: Set up real-time notifications to get alerted when critical issues occur, such as failed calls or evaluation failures.
For a complete guide on configuring your agent, see Configuring Your Agent.
Step 3: Make a Test Call
With your agent connected and configured, make a test call to it. This will send the call data to Tuner for monitoring.Step 4: Review the Call
Access the Call Logs
Once your call is complete, navigate to the Call Logs in the sidebar. This is your testing environment where you can see all your recent calls.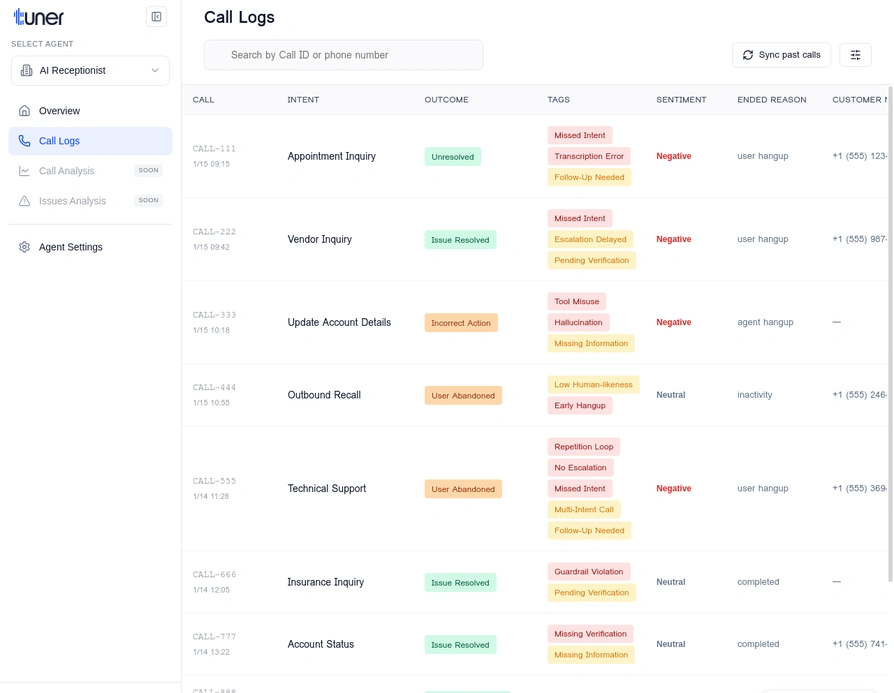
What to Look For When Reviewing a Call
As you review the call, ask yourself these questions:- Did the agent understand the user? Check the
Intentfield to see if the agent correctly identified the user’s goal. - Was the agent accurate? Review the transcript for any factual errors or hallucinations.
- Was the flow smooth? Look for long silences, interruptions, or moments where the user seemed confused.
- Did the agent follow instructions? If you have specific rules or behaviors your agent should follow, check if it did so.
- What was the user’s sentiment? The
Sentimentscore can give you a quick read on the user’s emotional state.
Fine-tune Settings
Based on your review, you can fine-tune your agent’s performance by adjusting its settings in your voice AI platform. For example, if the agent is interrupting the user, you may need to adjust its turn-taking settings.🎉 Congratulations!
You’ve successfully connected your agent and reviewed your first call! Here’s what you’ve accomplished: ✅ Connected your voice agent to Tuner ✅ Configured call outcomes and evaluations ✅ Generated data with a test call ✅ Reviewed the call in the Call LogsWhat’s Next?
Now that you’ve reviewed your first call, learn how to monitor your agent’s performance over time.Best Practices for Agent Monitoring
Learn how to effectively monitor your agent and catch issues early.
Introduction to Evaluations & Guardrails
Understand the core concepts that power Tuner’s monitoring capabilities.